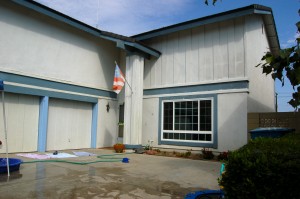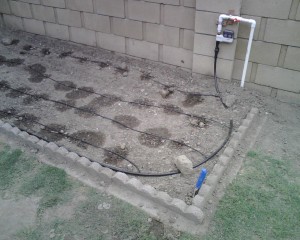
Over the Memorial Holiday, I finished installing an automatic watering system for the new garden. I planted Indian corn in the back row, and Cindy will be sowing some seeds in the other rows (hopefully today). I mixed in some garden soil into the rather clay-like soil, so we shall see if things actually grow. The most difficult part was digging the trench from the back of the house over to the wall. It is only about 25 feet, but the ground is so hard that it takes a lot of effort to dig. I had to presoak the ground which helped, but it was still hard.
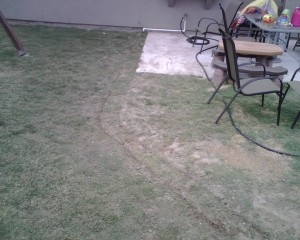
This is the finished trench where it meets the house. Luckly for me, there was a previous sprinkler from a time long past, so I was able to just use the outlet from the existing gate valve and run that over into the trench. It is only a matter of time before the kids somehow manage to break that PVC pipe, so I want to put some backing underneath it. On the other hand, maybe they will not mess with it. Lucky thinking.
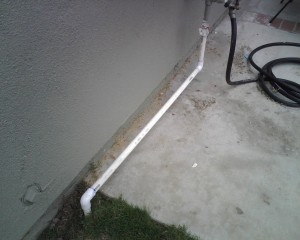
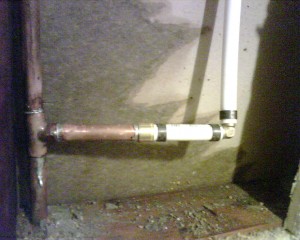
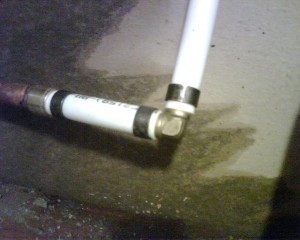
The next picture is a close up of the supply line from the hose outlet. There is a few inches of clearance below the pipe. I also need to do something to prevent the sunlight from damaging the pipe. I think a nice paint job of the sage house color should help.

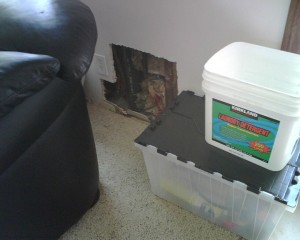
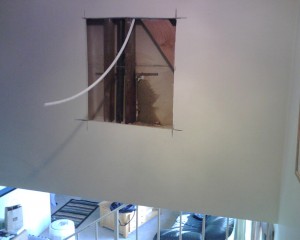
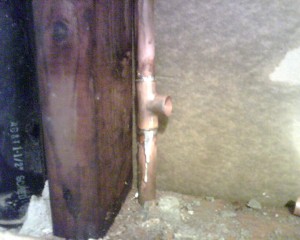
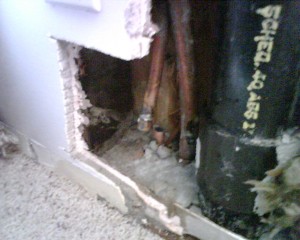 You can see the cut and capped off pipe in the second picture below. I was lucky to find the supply line was a 3/4 inch pipe, and then a 1/2 inch teed off and went back down. Since there was a 1/2 inch in the kitchen, then that was the one. I would have had to guess otherwise.
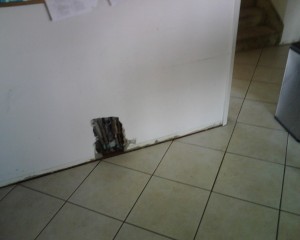
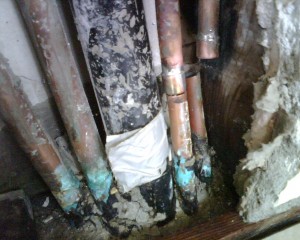 The pipes on the left are cold water, and the hot water is on the right. There is a previous cap from an earlier slab leak a few years ago, so now both pipes are capped. My job is the left solder work, which I think is a better job!
 Well, I finally got the sod in. This picture was taken Dec 5, 2008. It’s Marathon II.